Classic Mac
I co-hosted a podcast about the era of the classic Mac, and long wanted a fun way to run software from then. First there was an old G3 iBook, then an OS 9 emulator on a MacBook Air. This project is a marriage of both: the charm of classic hardware with the convenience of modern hardware and software.
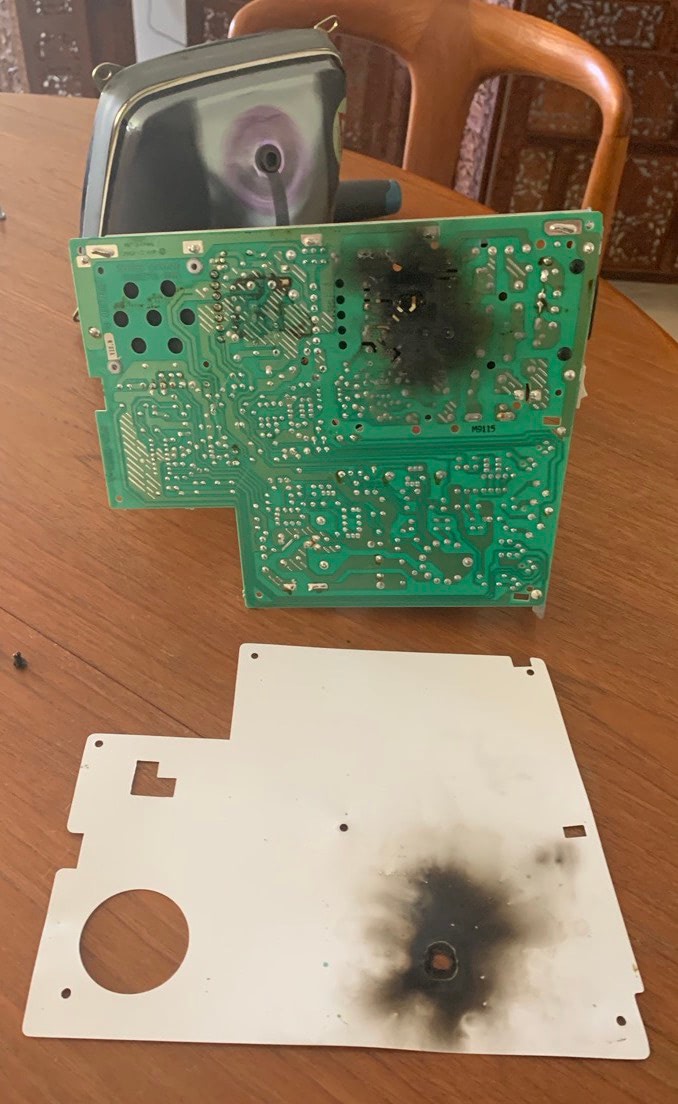
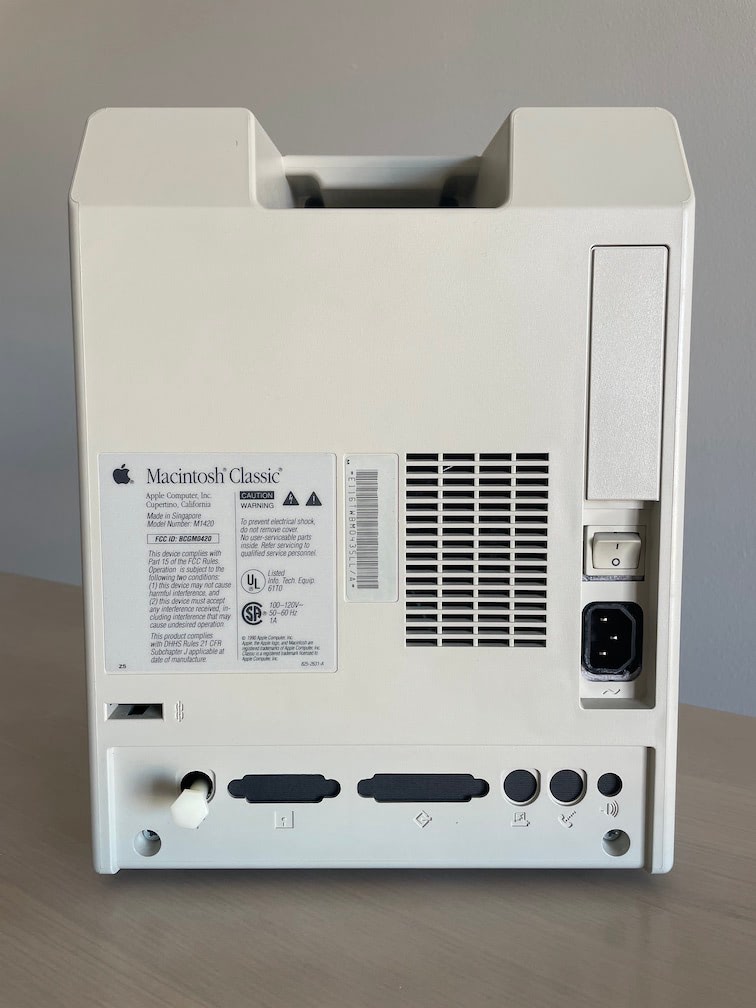
Which classic Mac to use was a no-brainer: there’s literally a model named Macintosh Classic, one of the final revisions of the iconic all-in-one design. I found one on eBay “for parts only”, since it had caught fire the last time its owner turned it on. During the course of this project, I read many forum posts angry at anyone who dared to ruin one of these relics that still had a chance of being restored. My conscience is clear that I avoided such an ethical dilemma.
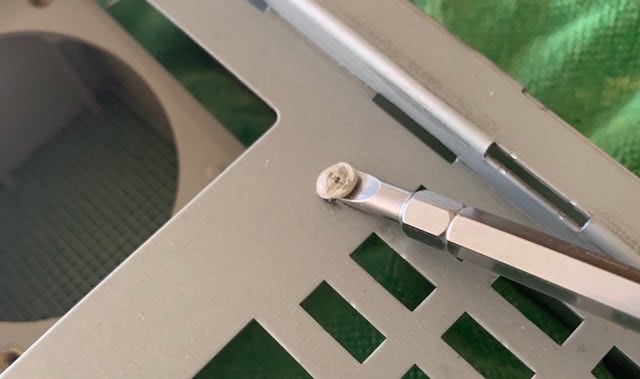
Taking the Classic apart wasn’t too difficult, and there are many videos online to show you how. You need a long T15 Torx screwdriver to remove the two screws under the top handle, and make sure to discharge the CRT before mucking around in there. The motherboard, floppy drive, and hard drive are all very easy to remove. The CRT and vertically-mounted analog board are only slightly more complex. I used a flat-tip screwdriver to pry the analog board off its metal frame, preserved the power switch, and screwed that vertical frame back into the main chassis. Then I used that screwdriver to chisel off the plastic caps securing the fan carriage.
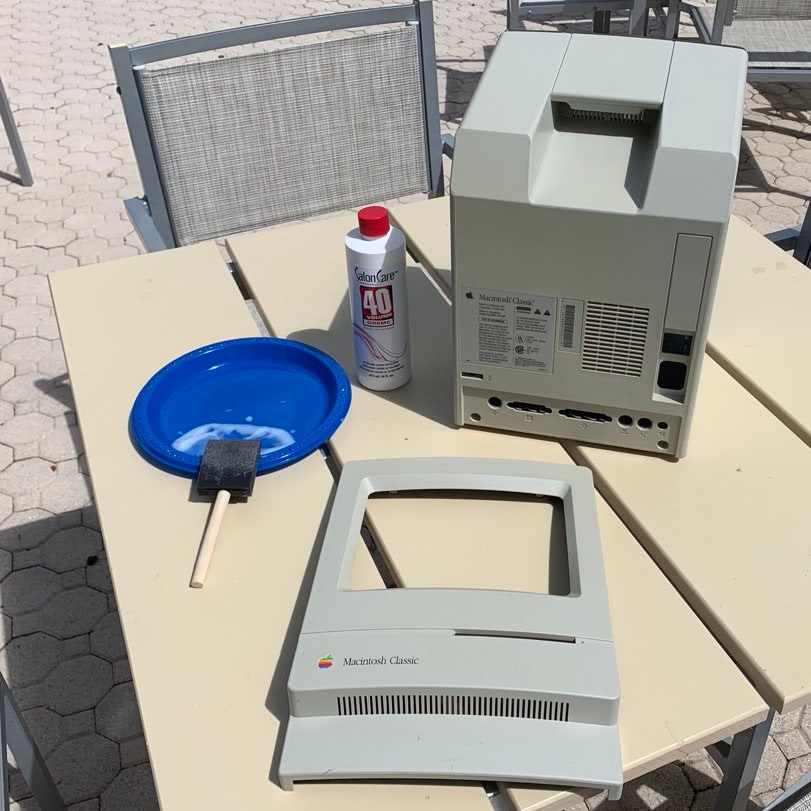
At this point, I had an empty case with its full metal chassis. The exterior was a little yellow from however many years of sun exposure, so I researched a couple retr0bright recipes before finding a blog post saying off-the-shelf 40 Volume Creme Developer from Sally Beauty Supply works just as well. I painted a thin layer on the case exterior with a foam brush and let it dry in direct sunlight for a little over an hour, wiped the residue off with a paper towel, and it looked good as new.
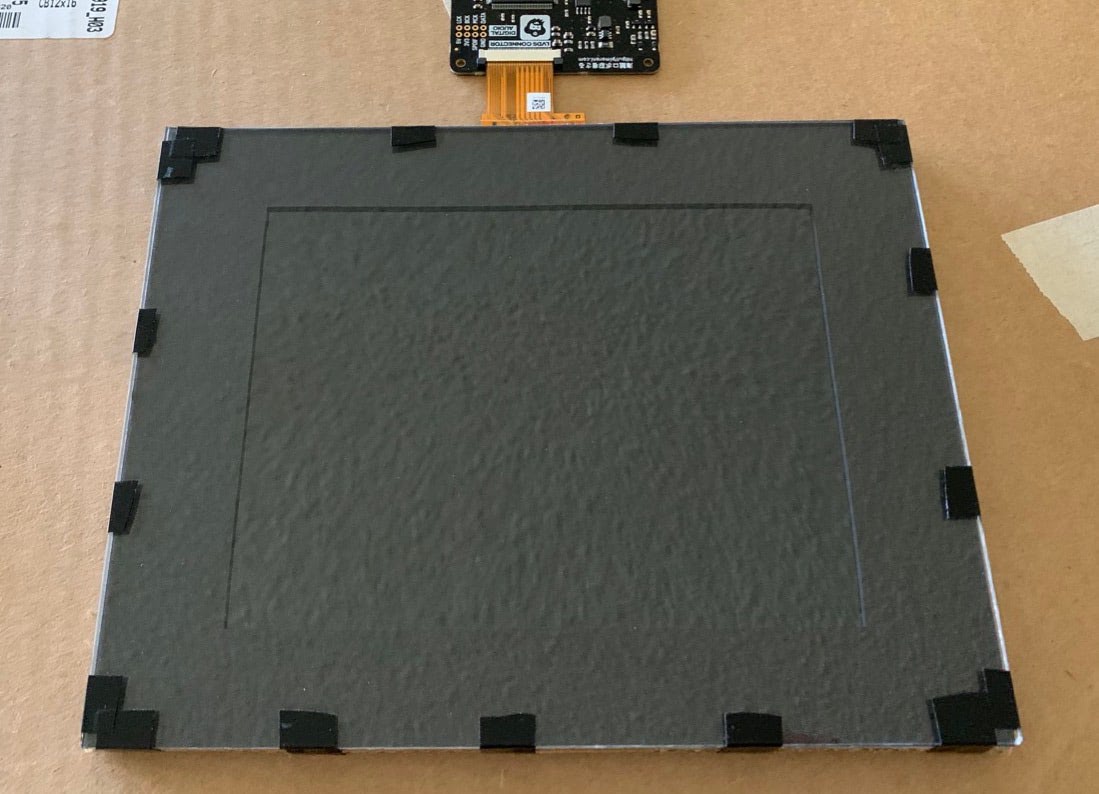
The display was the most difficult part of the whole project. This 8” LCD panel is a common choice because it’s closest to the original display’s dimensions with the correct aspect ratio. The wonderful Eric at the Palm Beach Gardens Michael’s cut me a piece of acrylic to cover the front and some black matte to align it from behind. I layered them on top of a piece of cardboard and sealed the whole sandwich together with some electric tape. Next, I epoxied a 3D-printed gap filler to the curved opening where the CRT formerly was, and epoxied the acrylic side of the display sandwich directly to that. If you’re more confident than I was, you could drill holes into the corners of your display sandwich and screw it into the mounting points left behind by the CRT.
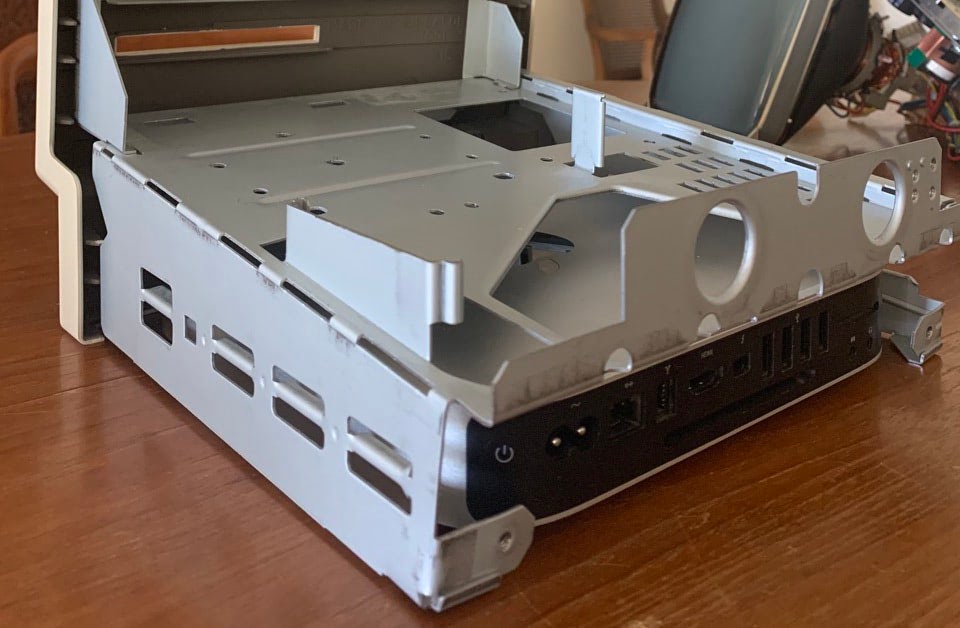
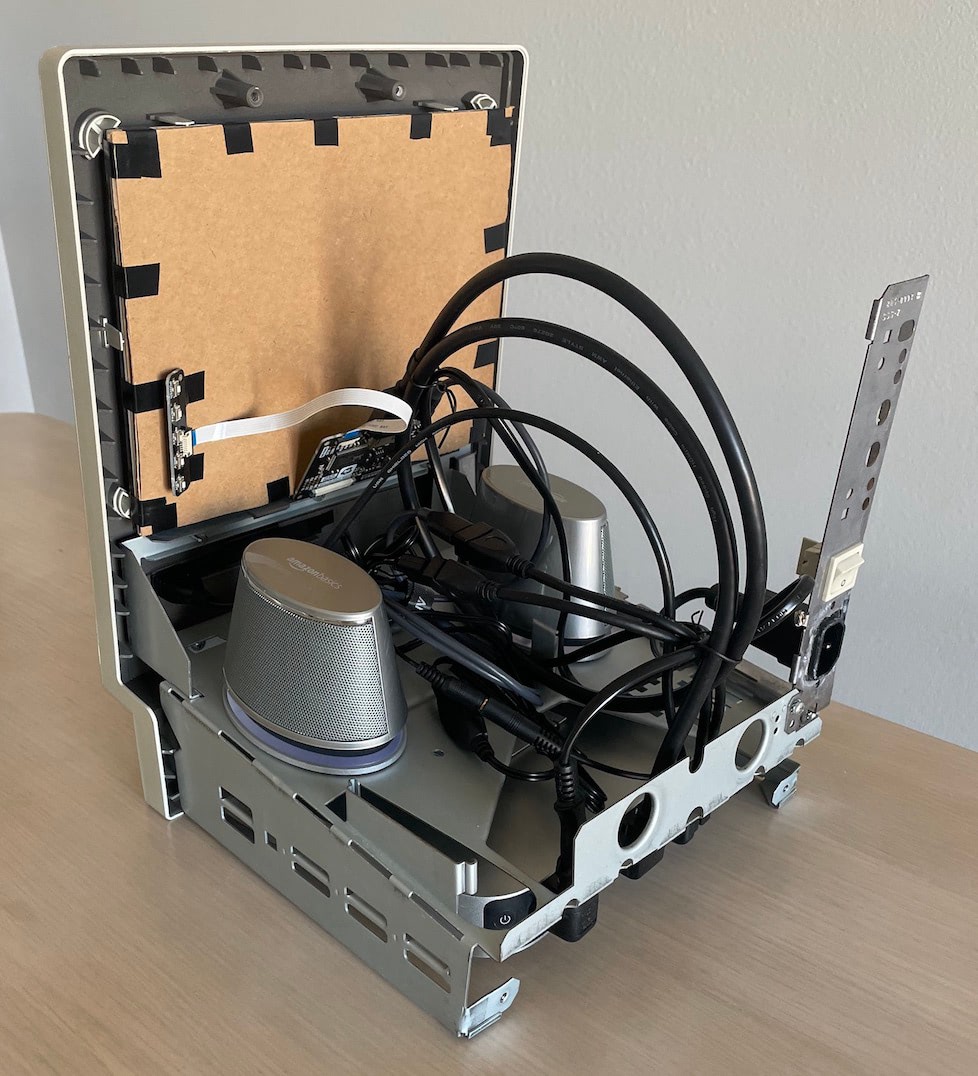
It’s wild how the current form factor of the Mac mini fits perfectly into the lower area of the metal chassis. I got a mid-2011 model so I wouldn’t have to deal with an optical drive, swapped its hard disk for an SSD, and installed the latest version of macOS it supports (10.13 High Sierra). Its built-in speaker is pretty bad, so I got some USB-powered ones and mounted them to the top side of the metal chassis. The only special considerations left to make are some 90° cables: left-angled USB (to power the speakers and display), HDMI, and audio. I threaded a third 90° USB extender cable through to the disk slot on the front, for if I ever need a USB port.
As for power, there’s a 90° adapter plugged into a C7 to C14 converter cable, with the C14 socket affixed to where it originally was on the analog board frame. Any old monitor power cable plugs in from here to the wall. The ADB port on the back more or less aligns with the Mac mini’s power button, so for now I have a beige plastic bolt sticking out that I fumble around to hit it. A more elegant solution would obviously be nice.
From there, you have a modern macOS machine fully self-contained in a classic Mac case. For a layer of extra polish, swap out the Torx screws for regular Phillips ones as you put it back together: (4x) #8 x 1/2” to connect the chassis to the front face, and (2x) #8-32 x 3/4” by the ports. I decided to leave the ones under the top handle out altogether, but they’re (2x) #8 x 3/4” if you want them. And to go full classic Mac, install SheepShaver or mini vMac and get lost in the Macintosh Garden.